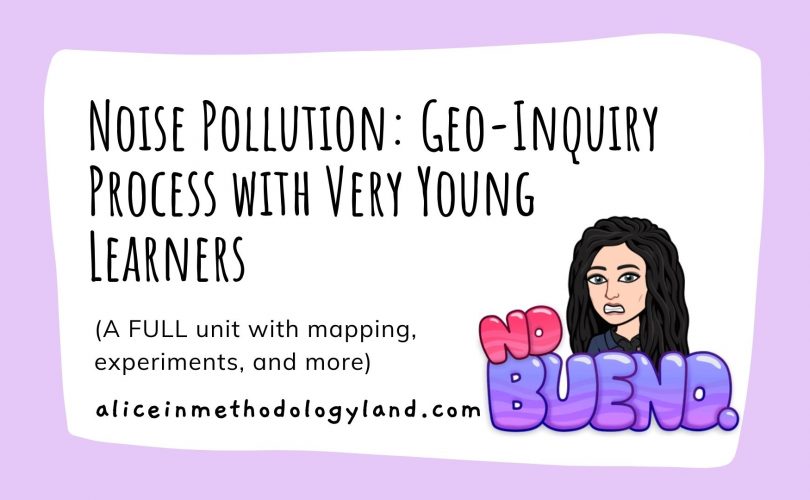
Hello, my dear educators! This post will be a full noise pollution SAMPLE unit designed in the National Geographic Geo-Inquiry course. Why did I choose noise pollution? Because noise pollution is definitely no bueno, and many people are not even aware it exists, let alone children. This unit is one of the units that aims to show that pollution can be experienced with other senses, not just sight and smell, and it is very relatable to every child that lives in a large city.
The unit is detailed and explains all the steps to any educator who might be reading and it can be easily adapted so that certain stages of the unit can be done online.
You can apply to the Geo-Inquiry course by National Geographic by clicking on this link.
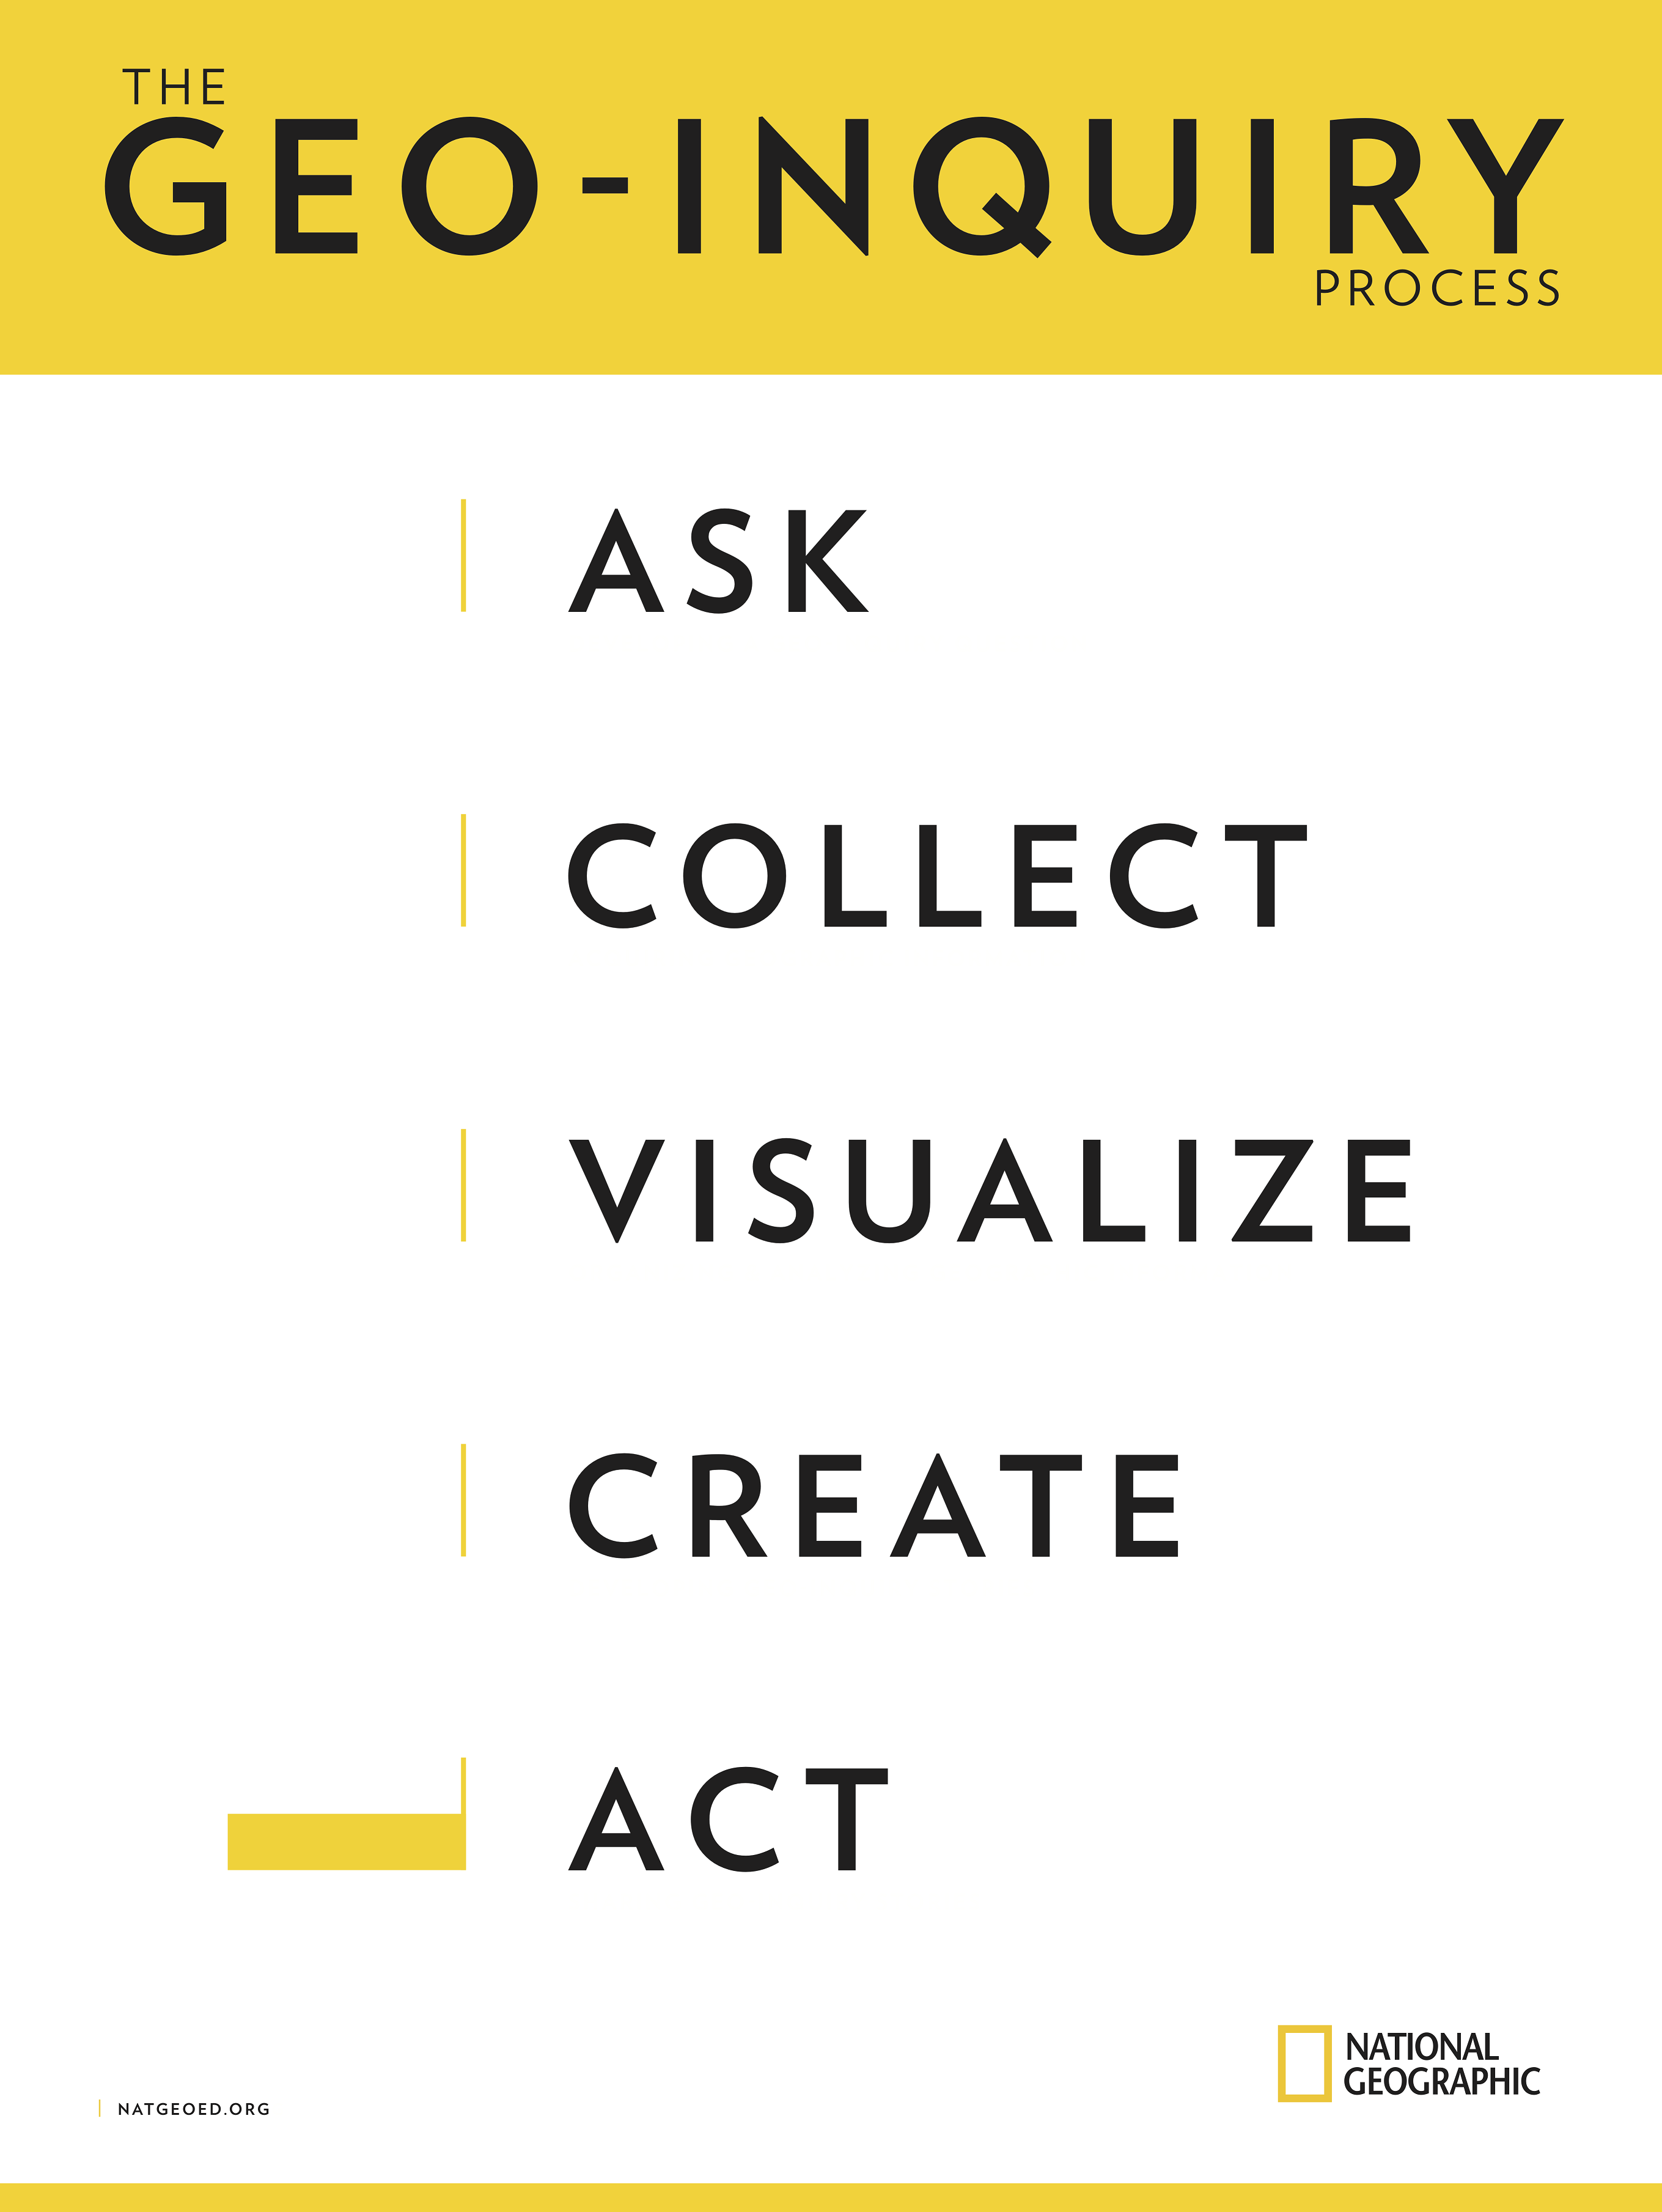
GEO-INQUIRY QUESTIONS ARE POSTED BY CHILDREN. THERE IS NO SPECIFIC PLAN THAT A TEACHER NEEDS TO FOLLOW SINCE THE TEACHER IS THE MODERATOR. THIS UNIT IS JUST AN EXAMPLE SUBMISSION I MADE TO DEMONSTRATE THE GEO-INQUIRY METHOD. AS YOU READ, YOU WILL NOTICE HOW EACH STEP OF GEO-INQUIRY HAS IT’S OWN SPECIFIC AIMS.
Geo-Inquiry Process Implementation Plan
Background Information
Describe the grade level and subject you teach
As a preschool teacher and English teacher working with (very) young learners, my main approach is CLIL, which integrates content and language. I teach all subjects. I am free to infuse any kind of thinking as long as it develops critical thinking, which can be done by using Geo-Inquiry. I use it in my environmental lessons, especially around topics related to conservation, biodiversity, and pollution. Please bear in mind when you read the implementation – it is created for young and very young learners (6-10 years old), so a lot of steps are modified and a lot of unexpected things can happen.
The goal(s) for your implementation plan
It’s important for students to learn more about the world around them since humans and the natural world are completely interconnected. They have to understand that all their actions have consequences and just because we can’t physically see a connection, it doesn’t mean that it doesn’t exist.
My overall goal is that they realize that they are part of the ecosystem and that as participants they can impact and bring change, no matter how small. The Geo-Inquiry process will seamlessly develop the explorer’s mindset – attitudes, skills, and content knowledge.
Preparing Your Students
’’Questions that can be answered with YES or NO are not questions which will solve a real problem.’’ – a very meaningful quote from one of the videos on NatGeo. Before starting our project, we will have to Introduce the questions we will need to create during the process. We will practice creating Geo-Inquiry questions over simple and completely relatable, everyday topics. When we master the question-making, we can start with our project.
We will practice making open-ended, action-oriented, community-focused questions.
Another skill we will have to develop is using maps and using apps that can help us create our story. We can play with maps and different apps and start by mapping the inside of our classroom, and then school, before going outside and mapping the outdoor environment. The content knowledge needed for the project will develop slowly as we ask questions, explore and discover. The project will be learner-oriented, which means that I don’t plan on directly presenting the content to them.
Unit plan SAMPLE according to Geo-Inquiry stages
ASK
Since I’m working with young learners who cannot read fully yet, I would use sight words/sentences written in a cloud mind map and posted in the classroom. I need to present WHAT, WHY, HOW, and WHERE sentence starters to inspire them to brainstorm. After that, we will explore the topic in order to narrow it down. We will create a board on Padlet and we will include a lot of existing visuals from the internet which will help us decide on the topic.
We already learned what makes a true Geo-Inquiry question in the preparation and we will think about WHY we want to answer that question, HOW it affects our community, WHAT is the problem, WHY should we care and HOW can we solve it.
I brainstormed issues we noticed in our community before and for the sake of the implementation process and I will introduce a familiar and relatable topic – noise pollution. What can we do about the noise pollution in our community? The children will choose their own topic when we apply the process; I am using this topic only as an example.
We will refine our question by using a poster and stickers – I will read the questions about refining the final question (listed above), and children will stick green for YES, and red for NO on the poster on the board. After the whole class is finished, if we have NO answers we will have to modify our question.
The ask phase is also content-related – we will conduct sound transferring experiments, play sound guessing games, and distinguish between sounds and noise. They will learn how loudness is measured. They will also listen to recordings that simulate hearing loss. We will create noise experiments with grains/rice in order to see the sound vibrations.
COLLECT
Collecting data is maybe the most important part of the unit. We would first determine WHAT kind of information we need, HOW are we going to collect them and WHAT tools do we need to do that.
Before determining the final needed data, we will record their ideas and then replay the audio recording, since most of the students cannot write yet. Before going out, we are going to draw and visually represent our goals when it comes to data collection – we will use a mind-map and stickers to organize our ideas.
Before going out, we will study a printed Google Map of our community and we will circle places they agreed to visit. We can’t use the Geo-Inquiry worksheets provided by National Geographic since they can’t write, but we will have a few older kids as mentors, who will read the questions and help younger kids fill the survey. They will use Mentimeter on our phones to answer community-related questions, it is interactive and the older children will help in data writing – they will serve as tech support. We will take audio, video notes, and pictures as well.
After using SoundDetect to measure sound levels in various parts of the community, we will start with interviews. We will also use the app in front of people we interview and share results with them.
We would agree on whom we want to interview and what questions would we like to pose. We will interview both people and companies/shops who are close and far from the streets in order to get a full picture of the noise level.
In the end, we could contact one expert online and try to set up a video chat to find out more about noise pollution.
VISUALIZING
The visualize phase is reserved for creating maps, organizing, and discussing the collected data.
We will use GPS so that we can map where they went on a paper map when they come back to the classroom. We will use A3 laminating sheets and draw on them with alcohol markers so that our layers don’t get erased. We will use 3 layers – one to show where we’ve been, one to show where noise is the loudest, and one to show where the quiet places are. We would use student worksheet 15 – to help us with the final version of our map.
The main questions we would discuss are:
- Do you see patterns or clusters in your maps?
- Why are they there?
- Why are the results on the layers different? What is the variable that changed the results?
- Which of these questions can lead us to our Geo-Inquiry answer?
- Writing down our Geo-Inquiry solution.
We would complete data visualization by creating 2 3D models from recyclable materials – we will make a landform model of our community with dough. Then we would make another model with added solutions – for example, we can add trees and green up our community since all bodies stop the sound waves from spreading. We can also decide to ask the city to build speed bumps in the noisiest places – to do that we will test the speed of toy cars while driving on the open road and on the road with a speed bump. We would have to create the terrain from dough and cardboard first. After that, we would use infographics to present our findings and the present patterns.
CREATE AND ACT
Analyzing the story – which visuals were effective and how can we present our findings to the community? When we analyze data we will be looking for patterns and we will develop communication, collaboration, and responsibility.
We will use Genial.ly to convey our story.
We will vote on what we want to see on our storyboard – I will guide them and propose things such as narration, audio recordings, sound effects, video recordings of the interviews and science experiments, drawings, photos of our field exploration, map, screenshots of the noise detector app, and click-through interactive content.
We will create a storyboard that will be used for creating our presentation. We will repeat the basics of storytelling and older children from elementary school will come to help the younger children type in their information in the presentation. Genial.ly allows us to upload all of these things and create our own little website, so we will not have to do complex video editing – I will combine videos they want to show since we can’t swamp them with learning about video editing as well.
The questions we need to revise are:
- Who are you trying to reach?
- What do you want them to know?
- What do you want them to feel?
- What do you want them to do?
- Why should you care?
- Who can support us and how can we gain their support?
In phase 4, we will be tying all the geo-inquiry elements together. What did we learn, what is our solution, how can we present it, and to whom? We can use student worksheet 21 in order to make a simple outline which we need to follow while presenting.
We would decide on roles and assignments for the group on a volunteer basis – some children will sort out 3D models, some drawings, some will decide what photos they want to add, drawings, videos, etc.
The end of phase 4 is reserved for constructive feedback and peer feedback and it should help perfect their action plan. We will invite the older children again and they will give us feedback.
In the final phase, the students would have to present their project in front of an audience. Since they are very young, they can present in front of their parents.
The presentation will include:
- The geo-inquiry question
- The people or objects involved, specifically their preschool
- The geographic location and mapping
- What happens over a period of time
- A call to action, solution and closure
Genial.ly is interactive and it will keep the audience engaged, but to create a bigger impact we will bring our 3D models with our proposed solutions and we will create a sound playlist in order to test noise levels on the spot.
We would share our street sound recordings and measure noise levels on the spot. We will have a short dramatization during the play to comically showing how our noisy future can be (for example eating with headphones on because of the extensive noise). The power of storytelling should present a clear call to action, and it should be engaging and persuading – creating contact with the bigger picture.
List other resources you will need (e.g., people, time, and materials).
The project implementation requires at least 1 full week – the exact lesson time is fluid and it depends on the children.
Software and materials used in the order of use + assistance needed:
ASK – Mentimeter
COLLECT – poster, stickers, Mentimeter – Elementary school children, phones, GPS, generic audio recorder, SoundDetect
VISUALIZE – 3D models, cardboard, dough, toy cars, organic food dye
CREATE and ACT: Genial.ly, experiment materials, props for the dramatization
- Assessment and Evaluation
Assessment and evaluation will be done throughout the project.
Formative assessment will be done through Mentimeter, choosing proper questions, conducting experiments, and peer-discussion. We will also apply reflective self-assessment and peer-assessment after the presentation.
Other implementation details
This project implementation is designed for preschool children (6 years old) and primary school children (7-10) and it is meant to be conducted in a mixed group. We will use our native language as well. Realistic implementation of this plan would take at least a week, having in mind that we will cover a step from the process every day. The activities may last for hours, all depending on the children’s interests and ideas. I will act as a project facilitator and tech support since they are very young.
This is just an example of a relatable topic we already discussed, but I would prefer that children choose their own topic – this is described only because of the submission purposes.
The evaluations of my unit
1st evaluation
My comment on the 1st evaluation
Thank you for reading :) And for the amazing feedback!
That’s a very good question! If you take a look at some phases again, you will see that I actually used the worksheets in many places – just not as worksheets. The process is built on using the questions and ideas from the resource packet. They don’t have to be in the form of worksheets, simply because they won’t do much with preschoolers – they can’t read. Also, it’s a waste of paper in the environmental curriculum.
Take apart the questions into the process and they will fit so easily you won’t even notice them.
2 examples in the ACT phase – WHY we want to answer that question.
1. HOW it affects our community, WHAT is the problem, WHY should we care and how can we solve it.
2. We will refine our question by using a poster and stickers –I will read the 7 questions about refining the final question, and children will stick green for yes and red for NO on the poster on the board. After the whole class is finished, if we have NO answers we will have to modify our question. Another worksheet is broken down to refine the question – this way the question refining is gamified, and by using the Total Physical Response approach, the children are physically and mentally engaged in sharing their opinion.
So the final answer is – the worksheets are very useful if you think outside of the box for this age :)
2nd evaluation

My comment on the second evaluation
Thank you for your ideas but we are cutting down on crafts and the use of paper materials and creating waste in this project.
They will create an interactive presentation online, and we also have dramatization – check the ACT part. We will dramatize and do experiments in front of the audience.
Also – we are using a printed map that we already have and we are layering it with laminating sheets. We will also make a dough relief map and a model from recyclables – all of this is in the visualize part.
Great ideas and thank you for such thoughtful feedback :)
The point of the article is to analyze the Geo-Inquiry process in detail through an example unit. The students would do a lot of the things and the teacher does not have a clear unit plan. The unit plan will be developed on the spot, together with the students. The project is environmentally friendly and it offers a lot of space for the development of 21st-century skills and inquiry. What do you think about this approach? Can you let go and let students lead the project? Feel free to share activities or opinions in the comments, or via the contact page!

Click here to explore my store where 99% of materials are forever free!
All the materials except lesson plans and 30+ page interactive activity books will be free FOREVER! Why? Because sharing is caring, and 2020 hasn’t been kind to all of us. Please consider donating so I can keep making FREE materials for everyone and keep my website open for all of you.
Don’t forget to leave a review when you download materials! It’s just a minute of your time, and it means a lot to me.
P.S. The store and the freebie library are not the same thing – the freebie library has some extra materials like conference presentations and webinar recordings which are not available in the store
The subscription link for the store is below my bio in every post.